- My Account
- Place a Reorder
- Logout

Home » Shop » Fluid Management & Drainage » PleurX Drainage System – Drainage Kits & Accessories
PleurX Drainage System – Drainage Kits & Accessories

Brand: PleurX
Manufacturer: BD (Becton, Dickinson and Company)
Lorem ipsum dolor sit amet, consectetur adipiscing elit. Ut elit tellus, luctus nec ullamcorper mattis, pulvinar dapibus leo.
Lorem ipsum dolor sit amet, consectetur adipiscing elit. Ut elit tellus, luctus nec ullamcorper mattis, pulvinar dapibus leo.
DESCRIPTION
DETAILS
Reviews
DESCRIPTION
PleurX Drainage System – Drainage Kits & Accessories
Consisting of an indwelling catheter and vacuum bottles, the PleurX system is designed to assist patients with managing pleural effusions and malignant ascites from home. This arrangement allows patients to drain fluid buildup in a safe and efficient manner and provides access to addition training and educational tools. Buildups around the lungs or abdomen no longer have to become uncomfortable with a continuous in-line aerosol therapy. Not only is this an excellent way to cut down on doctor’s visits, saving costs in the long run, but it also reduces pain and discomfort in the everyday life of the patient.
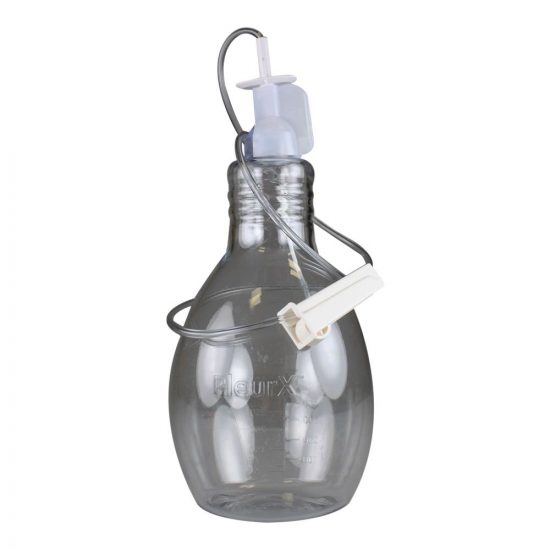
This PleurX Drainage Kit features a drain catheter and active vacuum bottles for collecting fluid. The catheter gets inserted into either the chest for pleural effusions, or the abdomen for malignant ascites. When draining the fluid, simply connect the drainage catheter to the line on the collection bottle. With the PleurX System, draining usually takes about 5-15 minutes.
How It Works
Once the catheter is implanted, typically after an outpatient procedure, the patient has the option of using the PleurX™ system to drain fluids periodically without visiting the hospital for a regular paracentesis or thoracentesis procedure. With the catheter in place, the patient simply has to use a vacuum bottle to remove the fluids – a process that usually takes five to 15 minutes. For chemical pleurodesis procedures, patients may also use the PleurX™ catheter in place of a chest tube to directly deliver talc or bleomycin to help control pleural effusion.
Why Use the PleurX System?
Pleural Effusions and Malignant Ascites are in the lungs and abdomen, respectively. They are collections of liquid that cause discomfort and difficulty doing regular everyday functions. When in the lungs, the liquid causes difficulty breathing. In the abdomen, the liquid causes not only discomfort, but also can affect the desire to eat. The system is only to be used with the PleurX Catheter. Discuss with your doctor if this is an option that would be beneficial for your condition.
How does the PleurX Drainage System help my condition?
A PleurX catheter is first inserted either into the chest of abdomen cavities as needed with the end remaining outside of the body. When not in use, it is covered by a protective dressing. When the fluid needs draining, be sure to follow the instructions given by the doctor and in the user’s manual. The external end of the catheter is connected to the vacuum bottle, which removes any fluid in the cavity.
Key Features
- Offers patients rapid symptom relief
- Infection rates are less than 3%
- Patients experience fewer hospital visits for paracentesis and thoracentesis
- Discreet and virtually undetectable under clothing
- Stays in Place – the end of the catheter stays outside of the body, covered by a thin protective dressing while not in use.
- Roller Clamp – allows the patient or caregiver to determine the rate of flow of the liquid. This increases comfort during the drainage process.
- Active Vacuum Technology – lets patients drain quickly and comfortably without the need for gravity
- Proprietary Safety Valve – keeps air or fluid from inadvertently passing through the catheter.
- Polyester Cuff – promotes tissue growth, helping reduce risk of infection and holds the catheter in place
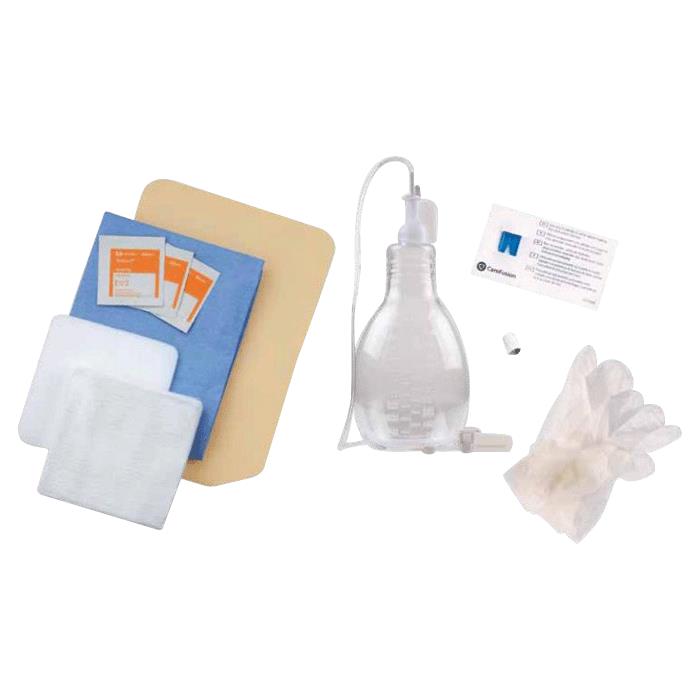
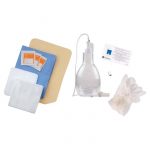
Included in the Kit
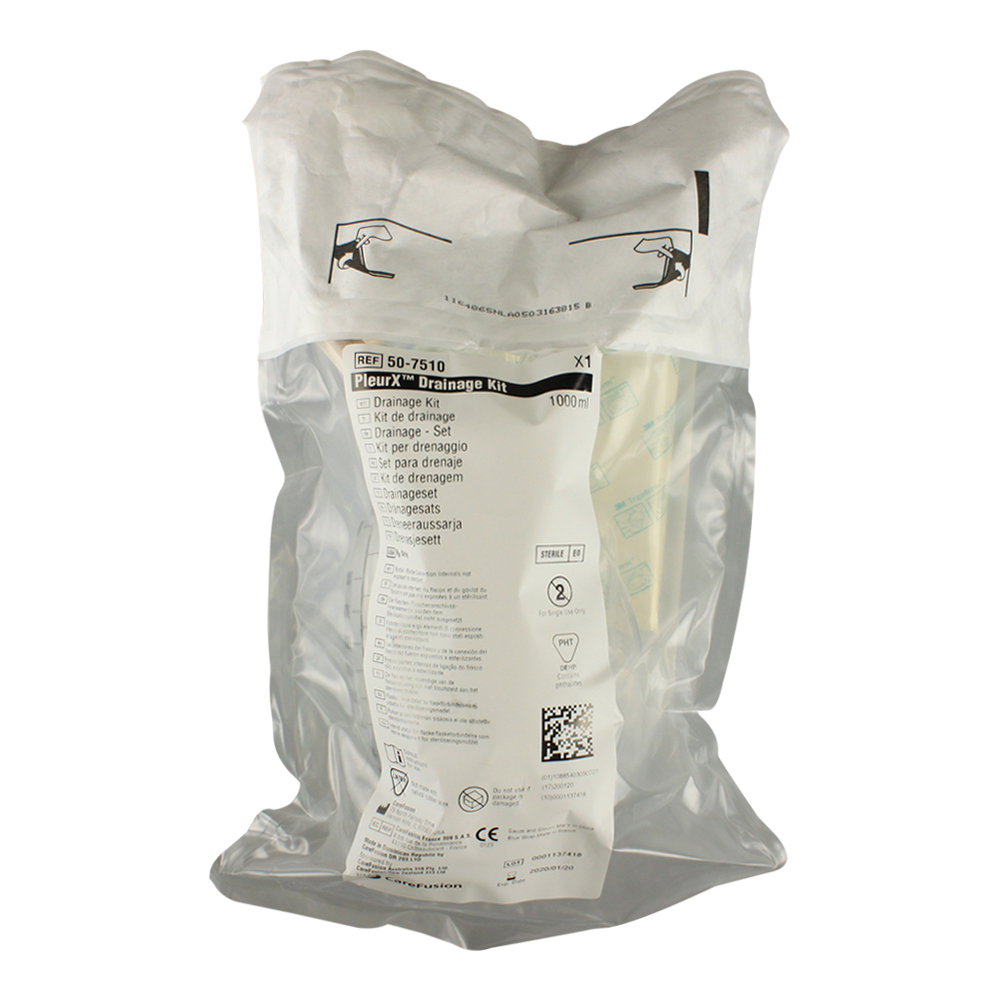
- Vacuum bottle with drainage line attached
- Blue wrapping
- Self-Adhesive Dressing
- Alcohol Pads
- Gloves
- Catheter Valve Cap
- Emergency Side Clamp
- Gauze Pads
- Foam Catheter Pad
How to Use PleurX Drainage System – Drainage Kits & Accessories
- Thoroughly wash your hands. Find a large, flat surface to function as a workspace.
- Open all packaging, unfolding the blue wrapping and keeping the vacuum bottle nearby.
- Using the folded cuff of the gloves, pick them up and put them on. Tear open the three alcohol pads, but do not remove them from the packaging. Lay them on the blue wrapping.
- Connect the PleurX drainage bottle. Push the roller clamp close to the bottle to close it off completely.
- Remove the cover of the access tip. This can be done by twisting and giving it a gentle pull.
- Remove the valve cap from the tip of the catheter. Using the first alcohol pad, clean the valve opening. Connect the access tip and the catheter valve. Drain fluid.
- Once the setup is complete, remove the support clip on the top of the drainage bottle. Push down on the T plunger.
- Start the draining process by rolling the wheel on the clamp away from the bottle. Adjust as needed for comfort.
- After the draining has completed, push the wheel back towards the bottle.
- Remove the access tip from the valve. Clean the valve with an alcohol pad.
- Twist the new cap onto the catheter until you hear and feel it click into position.
- Using the third alcohol wipe, clean the skin around the catheter site.
- Take the foam pad and place it around the catheter site, winding the catheter over the top. Cover with gauze pads. Over the gauze, place the self-adhesive dressing.
- Go back to the bottle and push the T plunger in a circuler motion. Remove the cap from the PleurX bottle.
- Pour the contents of the bottle into the sink or toilet. Seal the bottle in a plastic bag and dispose.
Warnings and Precautions
- Do not use if package has been opened or damaged.
- Single use only
- Contains phthalates
- May cause complications in the chest or abdomen cavities
- Keep sharp objects away from the catheter. If the catheter is cut, use the blue emergency clamp and call a doctor immediately.
- The valve should be kept clean and away from anything that could contaminate and cause infection.
- Only the drainage line tip should be inside the catheter to prevent damage and leaks.
- The access tip should not be touched by anything non-sterile, especially is the cover has fallen off.
- While some pain is normal during the drainage process, if pain continues after stopping, it could be a sign of infection. Contact a medical professional immediately.
- Drain fluid should not exceed more than 1,000mL from the chest or 2,000mL from the abdomen.
- Do not recycle used PleurX bottles.
PleurX Drainage System FAQs
How often should I drain the fluid from my chest?
You should drain fluid as directed by your doctor, usually every 1-2 days. Consult your doctor before changing the frequency of your drainage.
What if I still feel short or breath or experience discomfort after I finish draining?
Notify your doctor if you continue to feel short of breath or experience discomfort. Do not drain more than 1,000mL of fluid from your chest or 2,000mL from your abdomen at any one time.
When will I know if the catheter can be removed?
When you try to drain fluid three times in a row and each time less than 50mL drains into the bottle, you should see your doctor to find out if the catheter can be removed or if it needs to be replaced.
If the fluid goes away suddenly or if the amount of the drainage gradually declines, it is possible that the catheter may be clogged. Squeeze the catheter and the drainage line gently. If the drainage does not begin, follow the instructions for changing to another bottle. If the drainage does not start when you use a second bottle, call your doctor.
If the amount of fluid gradually declines, the fluid may be drying up and it may be time for the catheter to be removed.
How long will the catheter be in my chest?
The catheter will remain in your chest or abdomen until fluid stops draining. The amount of time will vary from patient to patient. Fluid buildup is not likely to stop in the abdomen, but may stop in the chest. The catheter may remain in place as long as you need it, and it continues to work properly.
What should I do if the color of the fluid changes from the usual color?
Any change in the appearance of the fluid should be reported to your doctor.
Can I take a shower or bath with the catheter in place?
You can take a shower or sponge bath if a self-adhesive dressing like the one in the procedure pack is securely attached to your skin and working properly. The self-adhesive dressing is designed to keep fluid out. Be sure the dressing is completely and securely attached and the catheter and gauze pads are all contained underneath it. If the gauze becomes wet when showering, remove the dressing immediately, clean and dry the area and apply a new dressing as instructed.
Do not allow the catheter to soak underwater in a tub, bath, or pool.
What happens if the catheter is accidentally pulled out?
In the unlikely event the catheter is pulled out or the cuff becomes exposed, cover the exit site with a sterile dressing and seek immediate medical attention. The catheter has a polyester cuff that is normally under the skin where the catheter is inserted. This cuff and the sutures – located where the catheter exits your body – help keep the catheter in place.
How will I know if my catheter is infected?
You should contact your doctor immediately if you believe your catheter is infected. Pain, redness (erythema), warm to touch, swelling (edema), fever or fluid from around the catheter site may be a sign that your catheter is infected. Some discomfort and redness after insertion is expected but should not continue or worsen.
What is the difference between a chest tube and PleurX?
Chest tube placement is a minimally-invasive procedure (small incisions of 2–3 inches long / local anesthesia) performed to treat and prevent pleural effusions. Chest tube placement involves the insertion of a thin plastic tube into the pleural space. The tube may be attached to a suction device to remove excess fluid or air. A PleurX is like a chest tube except it is smaller and designed for use at home.
What is the PleurX drainage kit used for?
The PleurX Pleural Catheter System is indicated for intermittent, long term drainage of symptomatic, recurrent, pleural effusion, including malignant pleural effusion and other recurrent effusions that do not respond to medical management of the underlying disease. The devices are indicated for the palliation of dyspnea due to pleural effusion and providing pleurodesis (resolution of the pleural effusion).
Downloadable Resources


Related Products
BD (Becton, Dickinson and Company)
Starting at: $39.39
BD (Becton, Dickinson and Company)
Starting at: $69.49
BD (Becton, Dickinson and Company)
Starting at: $65.69
Product Item Number
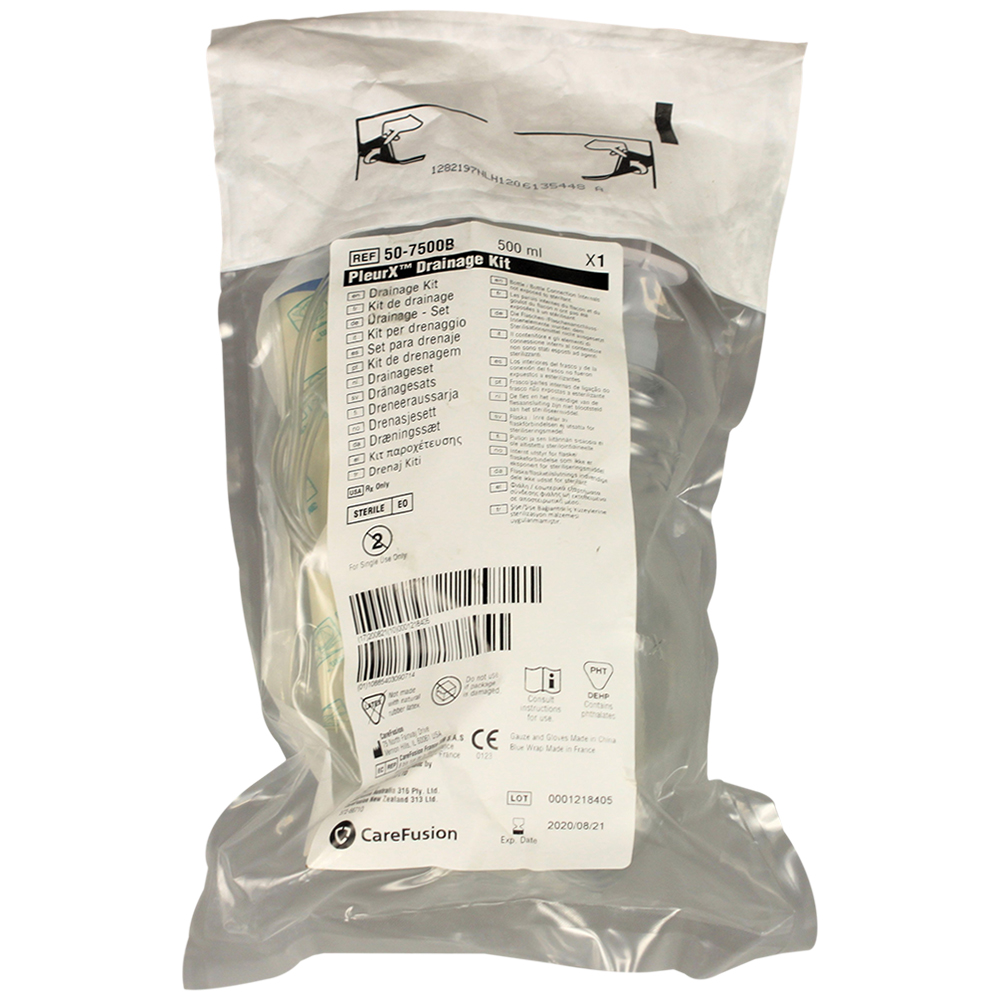
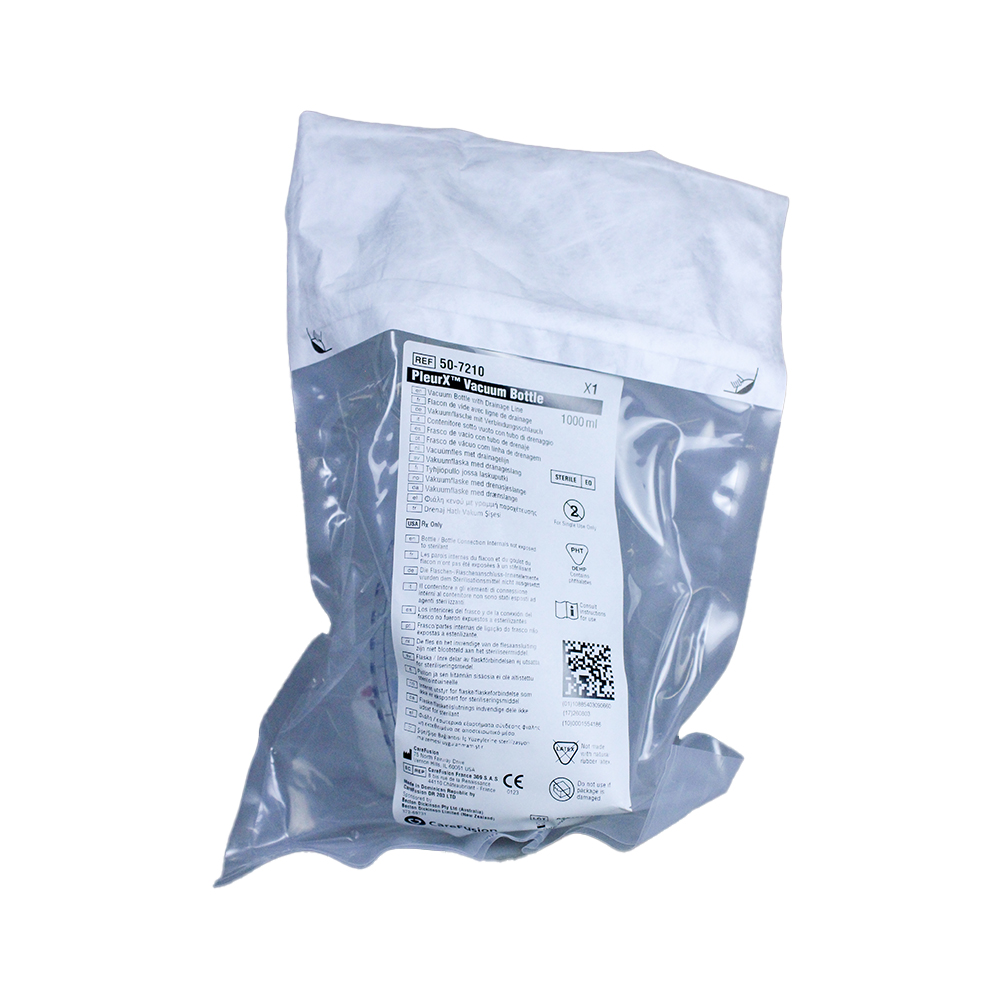
50-7210, 50-7245, 50-7265, 50-7500B, 50-7510, 50-7700, 507000B, 507205B
PDF File
[product_pdf_file_view]
DETAILS
Additional information
| Manufacturer | BD (Becton, Dickinson and Company) |
|---|---|
| Brand | PleurX |
| Volume | |
| Product Details | PleurX 1000 mL Vacuum Bottle with Drainage Line (without Procedure Pack), PleurX 500 mL Vacuum Bottle with Drainage Line (without Procedure Pack), PleurX Drainage Kit with 1000 mL Vacuum Bottle and Procedure Pack, PleurX Drainage Kit with 500 mL Vacuum Bottle and Procedure Pack, PleurX Lockable Drainage Line, PleurX Lockable Drainage Line Kit, PleurX Pleural Catheter and Starter Kit with Four 1,000 mL Bottles, PleurX Pleural Catheter Kit, PleurX Procedure Pack, PleurX Replacement Valve Cap |
| Amount | Each, Box of 5, Box of 10 |
| Billing Supported | |
| fsa_enabled | true |
Reviews
Most orders ship same day
Straightforward and Streamlined
8am - 7pm EST Monday thru Friday